
Once we had settled on our final design and idea we had to start making our installation. We had some decisions to make when it came to what materials would be used, how we would go about making it, etc. and so we spoke to our tutor Daz about this, as he would have more of an idea as to what would be best.
It was concluded that the installation would be made out of 12mm plywood. We went to the workshop and bought a full sized board to have the GW Devices logo routed onto. Once this was done we had it cut up into 5 300mm wide planks. We used the router to cut out our frames for the installation also.
While we had to wait for the frames to be made we sanded the planks which were routed and cut up already to give them a smoother finish, and then, began to paint the routed logo in black. This gave it a bolder look.


Once the frames were routed and cut out we went onto sand them and then we had to drill holes into them so we could thread string onto the frames. This was so we had a way for the personalised business cards to be placed onto them. We had to drill holes into the top of each plank of wood too as we were hanging them from a frame with cable ties.
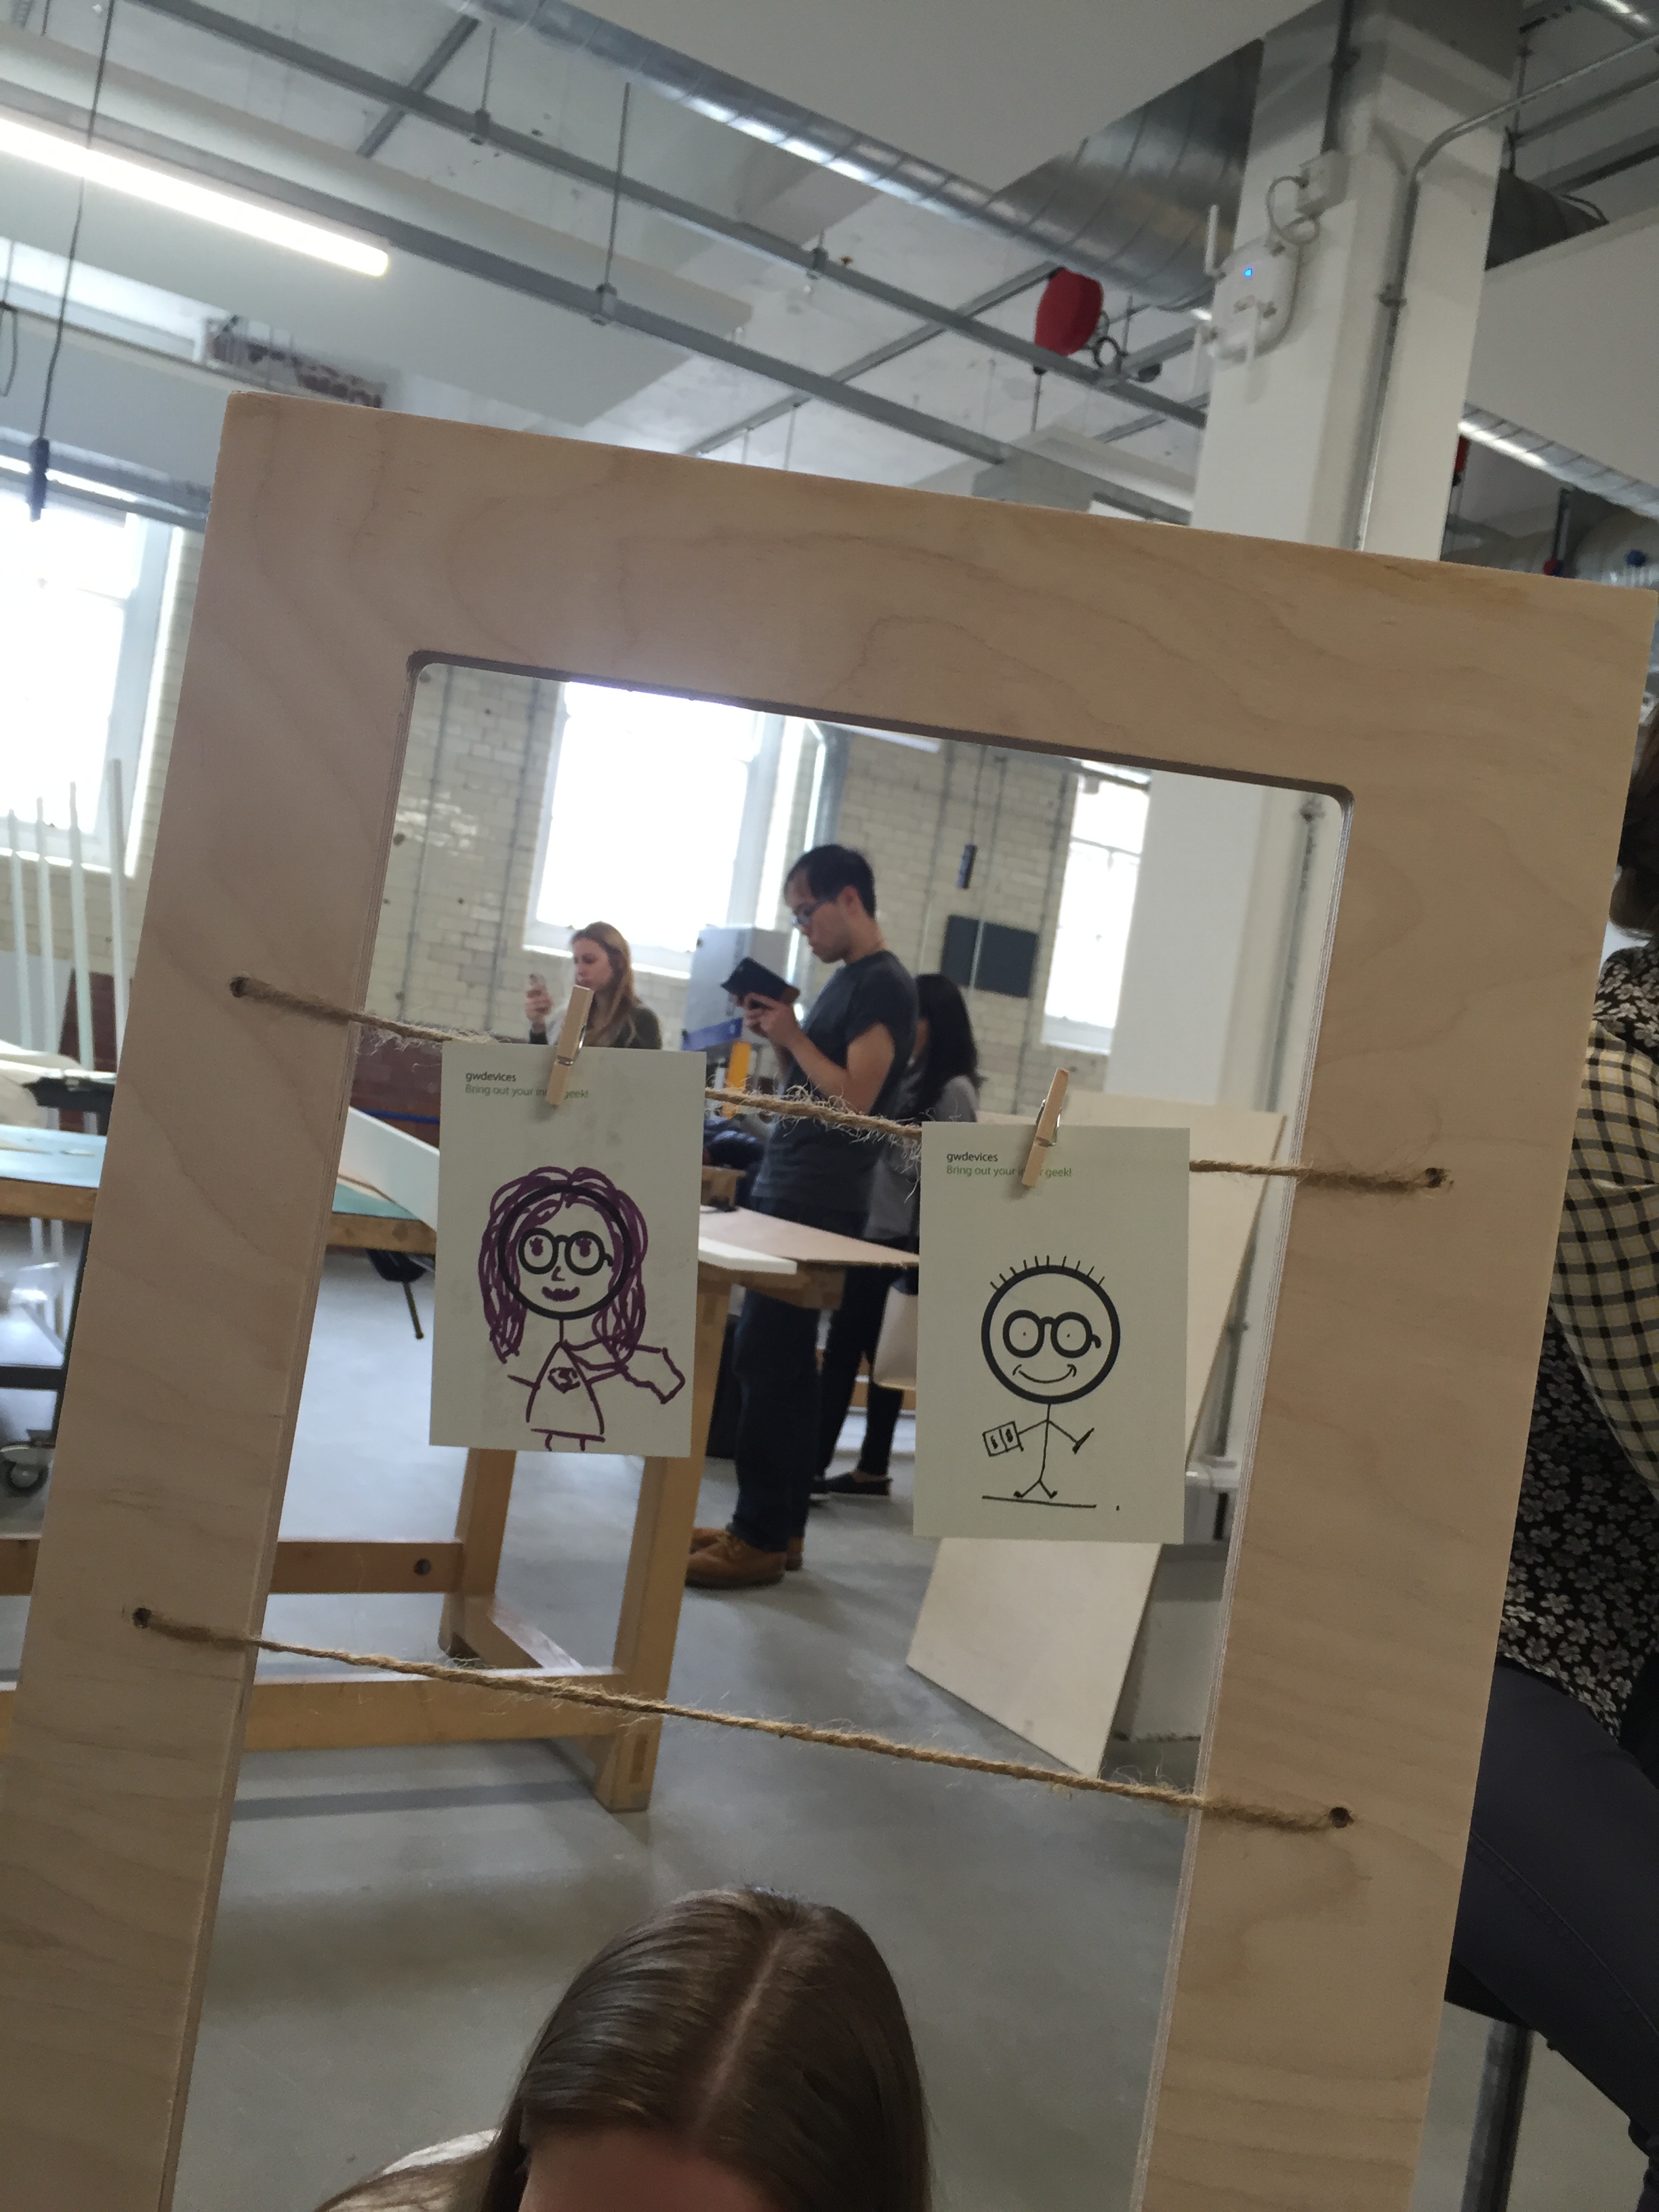
When the frames had the string threaded, we began pegging some business cards, which our fellow interior design students and tutors had personalised, onto them. After this was done all we had to do was hang the boards and actually install our piece.
This was where we had a small hiccup; we were planning on using a metal frame which we had in our interior design studio to hang the boards from to create our two way perspective views. However, once we began doing this we discovered that we would be unable to get the correct angles and placements to get this to work. At this point it was the day before our opening night and so we were worried as whether we would be able to get it finished.
We spoke to Daz and showed him that things weren’t working out. He said that he would be able to make us a wooden frame in time for the exhibition which we could hang our installation from.
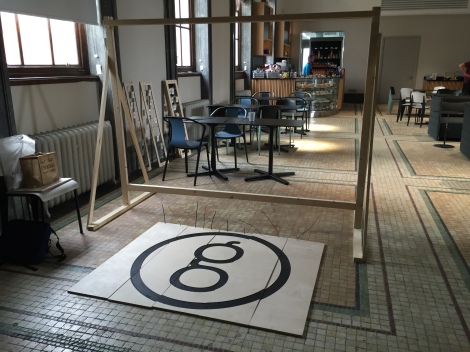
This frame was finished for the morning of the opening day, giving us time to completely finish our installation. Thankfully this new frame allowed us to get the correct angles and hanging for the views to be achieved. Having a wooden frame seemed to enhance the look of the installation also as it seemed much more uniform and out together – so although the speed bump that we had was stressful and slowed our finish time, it did ultimately mean we ended up with a better piece of work.


